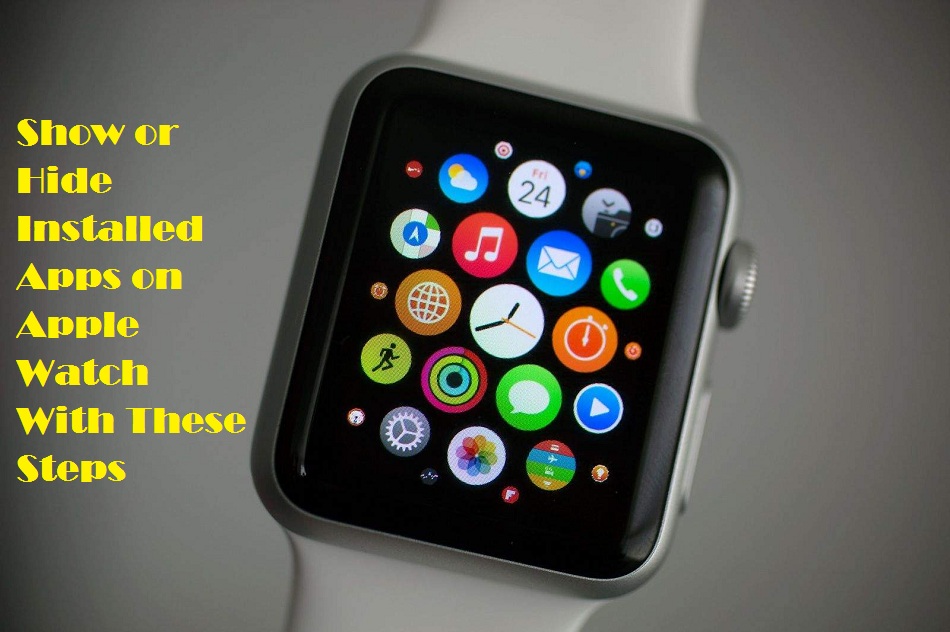
Apple use to add several new services and apps to its health and fitness device that is Apple Watch. The company has recently introduced an interesting and new feature, “Time to Walk,” officially especially for Apple Fitness+ subscribers on its wearable device. This feature provides an inspiring audio walking experience on Apple Watch. The feature is made to encourage fitness and health-conscious persons to go for healthy walks.

“Time to Walk” enables the users to get audio content from interested and influential persons who share stories, music, photos, etc., on several topics. Each episode takes up to twenty-five to forty minutes, and you can quickly access all of them right on your Apple Watch. You can also access available episodes by navigating the Fitness+ section available in the Fitness app on your smartphone.
Here are the steps to know how you can access and use the newly introduced feature of “Time to Walk”:
Workout with Apple Fitness+
Apple Fitness+ enables the users to get their next workout and customize their in-session metrics with several features. You can get the tips of the world’s best trainer’s right on your device.
Pairing Bluetooth Headphones Right on Your Apple Watch
Before using “Time to Walk” on your device, it is necessary to have a pair of Bluetooth headphones connected to your Apple Watch. Here’s how to do the same:
- At the start, tap the Digital Crown to access the home screen of your Apple Watch.
- Then, press the Settings icon to launch the respective app.
- Now, hit the Bluetooth option there.
- Tap on the device’s name you like to pair with.
- You can see the pairing status on your Apple Watch’s status bar. Once it starts showing “paired,” you will be able to view the option “Connected” right on the Bluetooth setting of your Apple Watch. Then, you can easily stream your desired music.
Getting Started with Time to Walk on Apple Watch
Before going to start the “Time to Watch” Experience, you must need a pair of Bluetooth headphones and AirPods paired and connected to your smart wearable device. Here is how:
- First of all, open the Workout app on your Apple Watch.
- Hit the menu tab available on the tile option “Time to Walk” situated at the upper section of the list.
- Press the particular episode of “Time to Walk” you like to experience.
Controlling Time to Walk Playback
Once you have started the Time to Walk episode, an outdoor walk workout will begin automatically. You can easily manage and control the respective playback of the episode “Time to Walk,” just like any other audio.
Here is how to control Time to Walk Playback on your SmartWatch:
- First of all, swipe your Watch screen leftward from the workout page.
- Then, hit the playback controls option to control your episode.
- Now, you can easily play or pause your Time to Walk episode. Go back fifteen seconds or skip thirty seconds ahead; you can do what you want. You may also adjust where your audio is going and see what’s next in the playlist, just as you do in your music app.
As you know how to use Time to Walk service of Apple Fitness+ right on your Apple Watch, pair your Bluetooth headphones to your wearable device first, get started with “Time to Walk,” and control your playback per your wish.
Wilder Zayn is a self-professed security expert; he has been making the people aware of the security threats. His passion is to write about Cyber security,cryptography, malware, social engineering, internet and new media. He writes norton.com/setup security products.
Source: https://secure-blogs.com/how-to-use-time-to-walk-feature-in-apple-fitness-plus/